
Fixing an EVAP leak is an advanced job for most DIYers. Here’s everything you need to know to fix an evaporative emissions leak at home.
- Difficulty Level: Advanced
- Time Required: 30 minutes to several hours
- Tools & Materials:
- Engine vacuum gauge
- Hand vacuum pump
- Soapy solution of 50/50 windshield wiper fluid and soap
- Jack stands
- Wrenches
- Screwdrivers
- Pliers
- O-rings
- Ratchet and socket set
- Hammer and punch
- Safety glasses
What Is an EVAP system?
Your vehicle’s EVAP, or evaporation, system helps keep pollution from your vehicle from entering the atmosphere by preventing gasoline fumes from seeping out. The EVAP system also prevents dangerous fumes from being released into your vehicle’s cabin, keeping you and your passengers safe from toxins. The EVAP system collects and condenses the vapors escaping from your fuel tank as your vehicle runs before returning those vapors to the fuel tank in a sealed vacuum system used to control this process.
Is It Safe to Drive With an EVAP Leak?
Driving with an EVAP leak isn’t inherently dangerous; however, there are several reasons why you should refrain from driving your vehicle if you have a known EVAP leak, including:
- It’s potentially harmful to the environment because you’re emitting higher levels of harmful chemicals into the air.
- An EVAP leak will prevent you from passing an emissions test, if where you live requires one.
- An EVAP leak can impact your gas tank pressure, affecting your fuel economy.
Waiting too long to fix an EVAP leak issue can lead to further potential damage to your vehicle.
Depending on the cause of your EVAP leak, this fix can range from beginner to advanced level for DIYers. It can take anywhere from a few minutes to several hours. Replacing your gas cap is the easiest and cheapest fix for around $20, while locating an EVAP leak in either the vacuum feed lines or charcoal canister may be more difficult and run you upwards of $600. Identifying the source of the leak may be best suited for a mechanic, although from there, you could continue the fix as a DIY project.
When to Replace the EVAP System
The EVAP system isn’t a component that has a regularly scheduled maintenance or replacement schedule, so the only time you’ll need to consider replacing the parts is if you experience an issue. The gas cap, vacuum feed lines, or canister may need to be replaced if you’re experiencing any of the following OBD2 codes:
- P0440 Evaporative Emission Control System
- P0441 Evaporative Emission Control System Incorrect Purge Flow
- P0442 Evaporative Emission Control System Leak Detected (small leak)
- P0455 Evaporative Emission Control System Leak Detected (gross leak)
- P0456 Evaporative Emission Control System Leak Detected (very small leak)
- P0457 Evaporative Emission Control System Leak Detected (fuel cap loose/off)
- P1440 Purge Valve Stuck Open
- P1442 Evaporative Emission Control System Leak Detected
- P1443 Evaporative Emission Control System Control Valve Malfunction
- P1444 Purge Flow Sensor Circuit Low Input
- P1455 Evaporative Emission Control System Leak Detected (Gross Leak/No Flow)
- P2421 Evaporative Emission Control System Vent Valve Stuck Open
- P2450 Evaporative Emission Control System Switching Valve Performance/Stuck Open
What Are Common Symptoms Indicating You Need to Fix an EVAP Leak?
Symptoms your vehicle may experience due to an EVAP leak include:
- Check engine light and any of the codes listed above
- Poor engine performance
- Difficulty refueling
- Reduced fuel economy
- Excessive fuel odor
Keep In Mind
You’ll want to follow the manufacturer’s recommendations for any maintenance performed on your vehicle, including fixing an EVAP leak. All repairs and replacements should be specific to your vehicle’s make and model to ensure proper functioning. While this article provides steps for identifying and repairing an EVAP leak, you should always consult with a professional for any vehicle maintenance service. For expert advice from master mechanics, you can reach out to the team at the FIXD Mechanic Hotline before tackling this repair.
Finding the leak can be difficult unless your EVAP leak is caused by a faulty gas cap, which is easy to replace. One of the reasons that fixing an EVAP leak is advanced is that it requires a special smoke machine tool that very few DIYers have access to at home. You’re also looking for a hole the size of a pinprick, making it challenging to find.
How to Fix an EVAP Leak
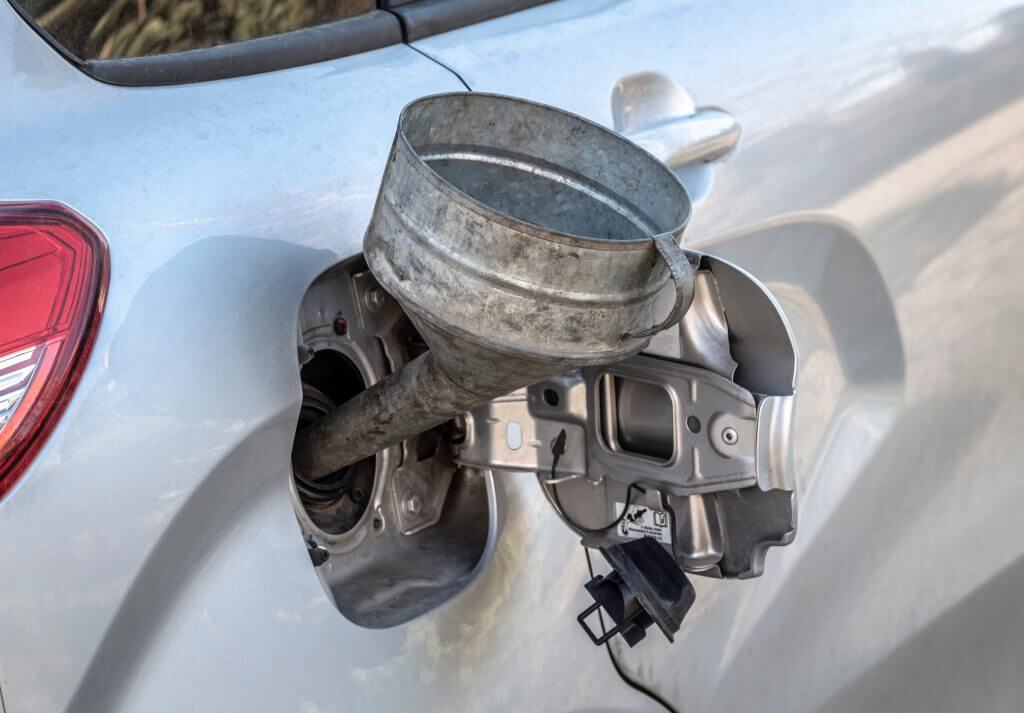
Step 1: Check the Gas Cap
The first step in fixing an EVAP leak is determining the leak’s location. You can start by replacing the gas cap, which may have a worn-out O-ring when everyday use. If that doesn’t fix your EVAP leak issues, you’ll need an engine vacuum gauge, a hand vacuum pump, or a professional smoke test machine to locate the leak. Several YouTube videos are available with homemade smoke test machine options if you don’t have access to a professional one.
Step 2: Check the Vacuum Line
Open the hood and look at the vacuum feed line to determine if there is a crack or tear in the line. If you notice anything wrong with the vacuum feed line, you’ll want to replace it.
Step 3: Check the Vacuum Control Solenoid
This is controlled by the vehicle’s computer. If you apply a 12-volt power source to the ground connection and it doesn’t open, the valve is bad and needs to be replaced.
Step 4: Keep Searching
If none of the above is the cause of your EVAP leak, you’ll want to inspect the rest of the EVAP system located under the vehicle, near the fuel tank. Inspect the purge solenoid, vapor and vacuum lines below the engine, and the charcoal canister. Inspect all lines for cracks and tears. Test the purge solenoid the same way as the vacuum control solenoid. Finally, remove the charcoal canister, plug or cap all openings, and submerge the canister in water and test the vacuum seal.
Still Need Help?
If you need more information or direction for fixing an EVAP leak, reach out to the master mechanics at the FIXD Mechanic Hotline from 8 a.m. to 8 p.m Monday through Friday. Our team of experts is here to help answer any questions or guide you through the process of DIY projects.

At FIXD, our mission is to make car ownership as simple, easy, and affordable as possible. Our research team utilizes the latest automotive data and insights to create tools and resources that help drivers get peace of mind and save money over the life of their car.