
What You Need to Know about Replacing the Blower Motor Resistor:
- DIY Difficulty Level: Beginner
- Cost: $114-$125 including labor, $70 DIY
- Time Required: 1 hour
- Tools & Materials: small ratchet and socket set
What Is A B.M Resistor?
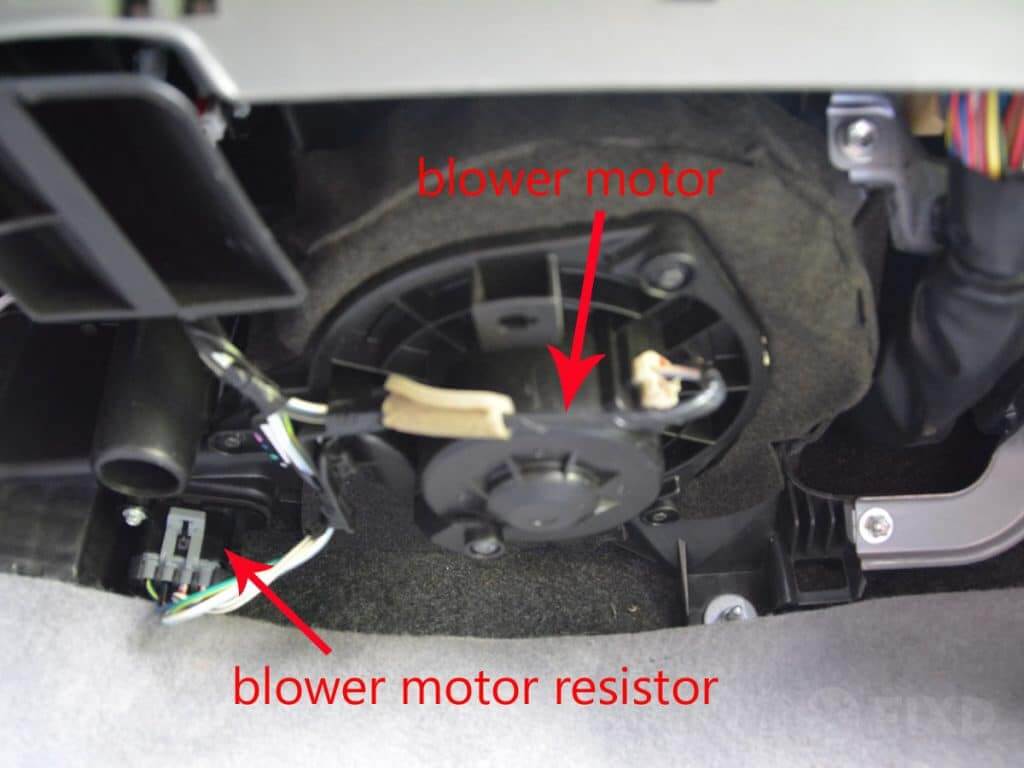
The blower motor resistor is an electrical component that controls the fan speed of the blower by sending an alternating current from the fan speed control switch on your dashboard to the blower motor fan located in the HVAC housing. Knowing how to replace a blower motor resistor isn’t difficult since the resistor is generally found in close proximity to the air cabin filter and blower motor.
The blower motor is what sends air through the vents of your HVAC system whether it’s for the heat or air conditioning. The HVAC housing of most modern vehicles is located inside the vehicle behind the passenger side of the dashboard. This repair was performed on a 2010 Toyota Tacoma, but the exact location of your blower motor resistor could vary.
How Much Does it Cost to Replace It?
The average cost to replace the blower motor resistor at a repair shop is between $44 and $55 in parts and $70 in labor costs, for a total cost of around $114 to $125.
On the other hand, you can easily fix the blower motor resistor at home in about an hour (even if you’re a beginner) and for around $70.
For more info on when to perform preventative maintenance on your vehicle, including how to save money with DIY repairs, check out our free guide here.
What Are Common Symptoms Indicating You Need to Replace the Blower Motor Resistor?
- Blower motor not working at all
- Blower motor only working on one speed, and inoperative on the other speeds
If the blower motor isn’t working at all, you should first double check any applicable fuses or relays under the hood or in the cabin. There is still a chance that the blower motor control could be faulty, but if the control knob feels good and all the fuses and relays are good, chances are you need to replace the blower motor resistor. The most common symptom of a faulty resistor is that the blower motor only works on one speed with the HVAC controls and it’s inoperative on all other speeds.
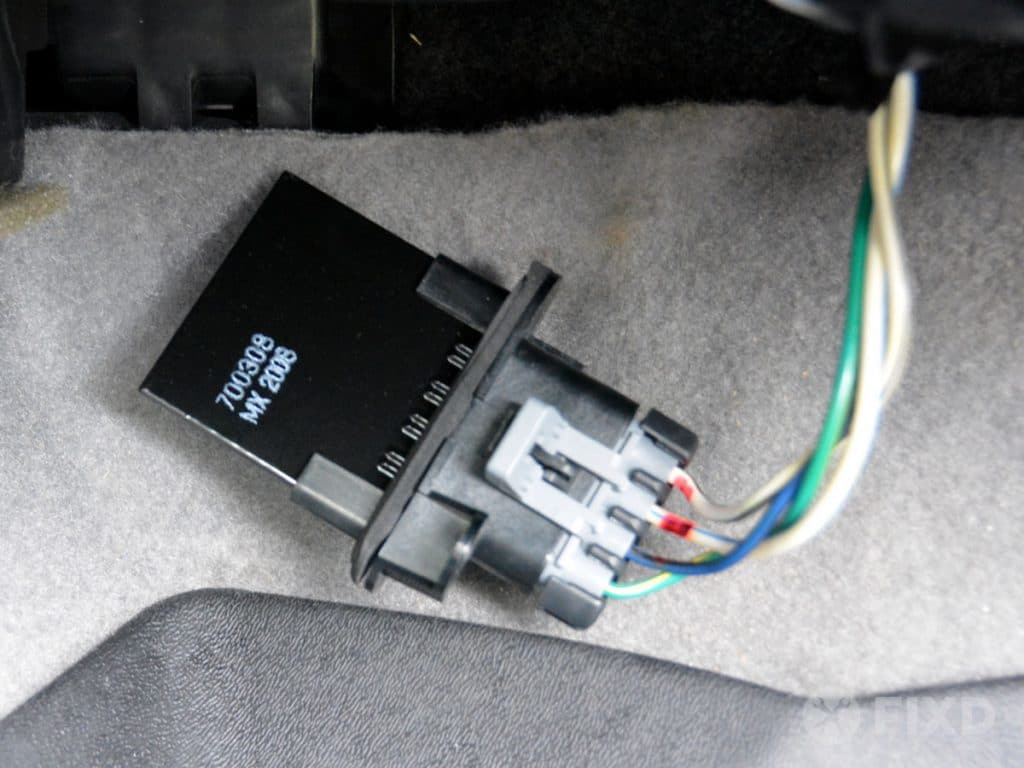
 Burned-out blower motor resistor pulled off a 2004 Ford E250 van.
Upon removal of the blower motor resistor, a quick visual inspection can sometimes verify that the part is faulty as it will have a dark spot (resembling a burn) on the resistor. This visual damage isn’t always present, though, as we found out during this repair on a 2010 Tacoma.
DIY Jobs Related to the Blower Motor Resistor
While you’re under the dash working around the HVAC housing, here are some related items that you should perform for preventative maintenance or to prevent the need for future issues with your HVAC system.
- Remove and clean blower motor fan
- Replace air cabin filter
We’ve put together a comprehensive guide on how you can replace your air cabin filter in four easy steps.
 Remove and clean your blower motor fan to prevent future HVAC issues.
How to Replace a Blower Motor Resistor
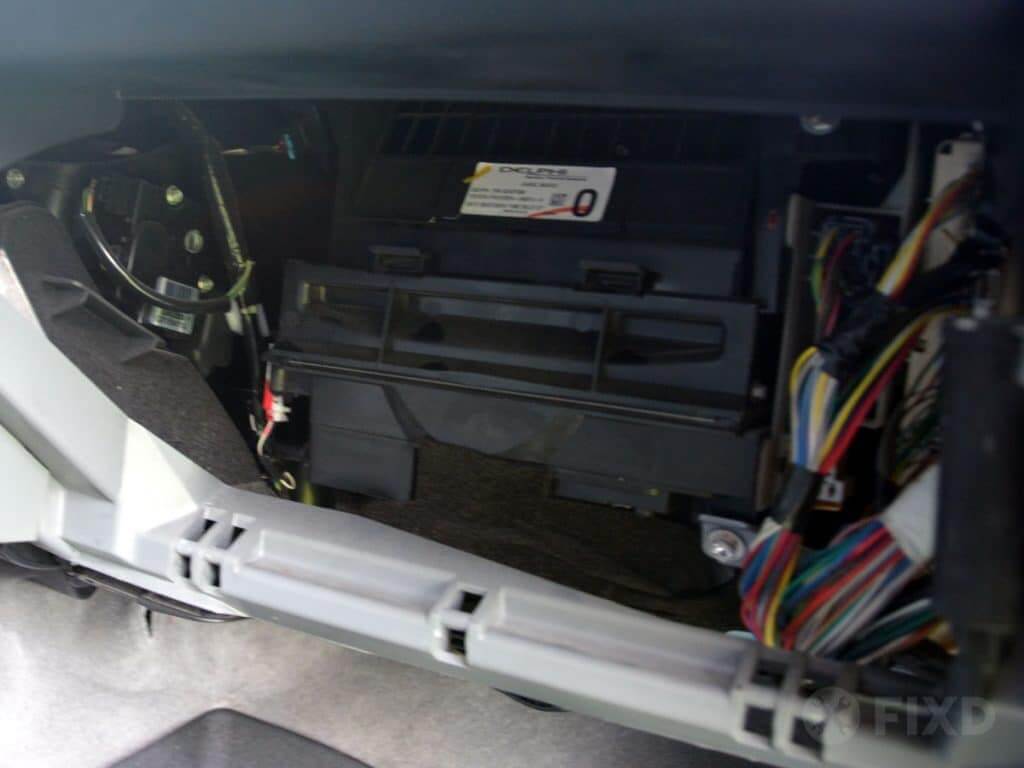
The blower motor resistor is usually extremely easy to access, but the hard part can be positioning your body inside the car to remove the part. The resistor is at the bottom of the HVAC housing or just behind the glove compartment.
Step 1: Remove the glove box door, if necessary.
Removal of the glove compartment usually doesn’t require any tools as you can just push in on the sides and lower the door away from the dashboard. Some vehicles might require tools to remove this part, while others, like this 2010 Tacoma, don’t require the glove compartment to be removed at all in order to gain access to the blower motor resistor.
Step 2: Disconnect the wiring harness and remove screws.
Depending on the location of the blower motor resistor, it is sometimes easier to remove the harness first. On other cars, it’s easier to remove the resistor from the housing and then disconnect the harness.
Step 3: Remove and replace the blower motor resistor.
Once the screws have been removed and the wiring harness has been disconnected, the blower motor resistor just slides right out of the HVAC housing. If the new resistor comes with a rubber or foam gasket material around the outside edge, then be sure to remove the old gasket as well. It’s possible that some resistors do not have any type of gasket.
Before completing the full installation of a new blower motor resistor, you can check the proper operation by loosely fitting the new resistor in place and checking to verify that all blower motor fan speeds operate as designed.
Step 4: Tighten screws and reattach wiring harness.
Once you’ve confirmed that the blower motor is functioning properly, it’s time to tighten the screws and reattach the wiring harness in reverse order that you removed them in Step 2.
Step 5: Reinstall the glove box door.
If it was necessary to remove the glove box to access the blower motor resistor, the final step in this DIY repair will be reinstalling this door.
Stay Cool!
With summer heat in full effect, don’t sweat an inoperable blower motor! Follow these easy steps for how to replace a blower motor, and have your car’s HVAC system working as designed to keep you comfortable while driving year round. To keep your car running as smoothly as possible, don’t forget to plug in the FIXD Sensor and app to monitor car health in real time, diagnose the check engine light, and get maintenance alerts to your phone. You can also learn more about the fundamentals of car maintenance by visiting our detailed guide here.
Other Common Car Repair Costs Transmission oil change cost Car AC recharge cost Average cost for front brake job Cost to replace spark plugs Timing chain replacement

Lifelong automotive enthusiast with a soft spot for offroading. Wrencher turned writer, but I still love to tinker on just about anything with an engine. Dream car: tie between a ‘71 Hemi ‘Cuda and a ’91 GMC Syclone. #GirlDad #SaveTheManuals